

To generate AI images in WordPress while using 777Hosting (if it provides free trials or AI tools), follow these steps:
Step 1: Set Up WordPress on 777Hosting
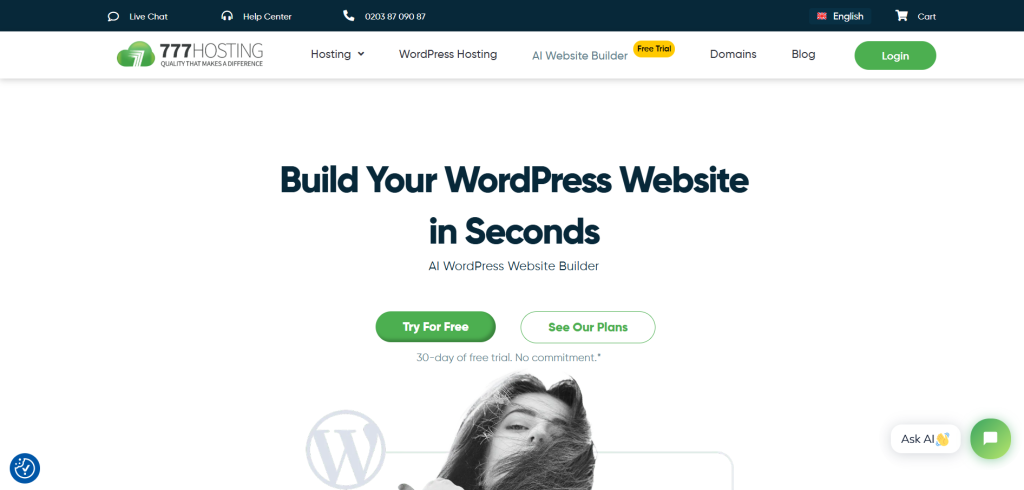
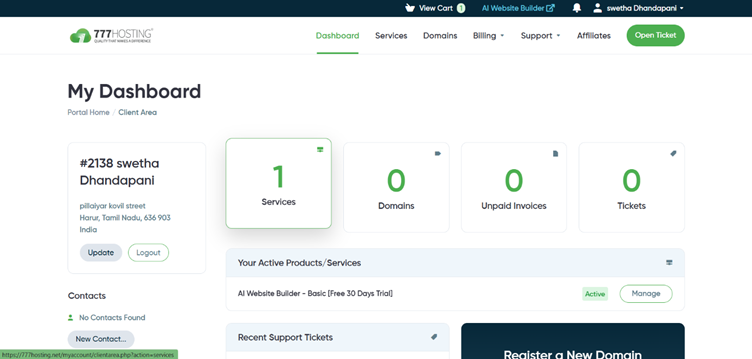
- Sign up for a loose trial or hosting plan on 777Hosting (if to be had).
- Log in to your 777Hosting cPanel and install WordPress the use of Softaculous or a one-click installer.
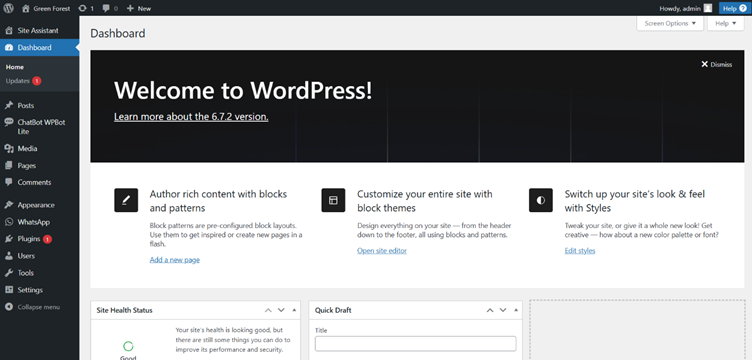
- Access your WordPress dashboard through navigating to yourdomain.Com/wp-admin.
Step 2: Install an AI Image Generator Plugin
- Go to Plugins > Add New in your WordPress dashboard.
- Search for AI Image Generator plugins like:
- AI Engine by Jordy Meow
- DALL·E AI Image Generator
- Stable Diffusion AI Image Plugin
- Click Install Now, then Activate the plugin.

Step 3: Configure the AI Image Plugin
- Open the plugin settings from the WordPress dashboard.
- If required, sign up for an API key from OpenAI, DeepAI, or another AI service.
- Enter the API key in the plugin settings and adjust preferences (image resolution, style, etc.).
Step 4: Generate AI Images for Free
- In your WordPress post/page editor, look for the AI Image Generator block or shortcode option.
- Enter a text prompt describing the image you need.
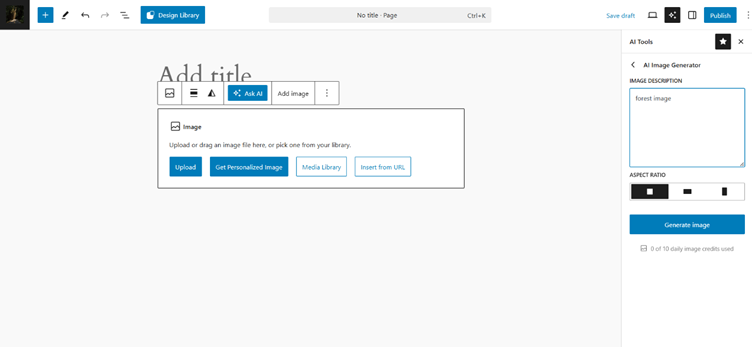
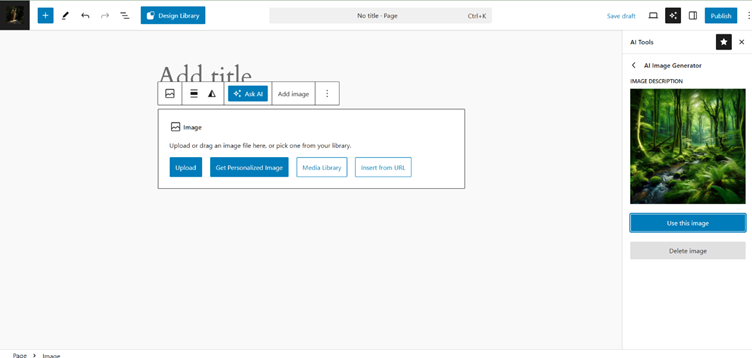
- Click Generate, and the AI will create an image.
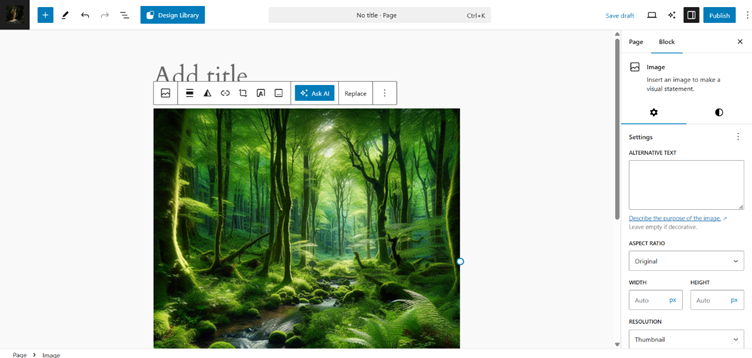
- Save and insert the image into your blog post or webpage.
Step 5: Optimize and Publish
- Use WordPress image optimization plugins (e.g., Smush or EWWW Image Optimizer) to compress the AI-generated images.
- Adjust the image size, alt text, and alignment for better SEO.
- Click Publish to display AI-generated images on your website.
Final Thoughts
If 777Hosting offers an in-built AI tool, you may find it under their WordPress Toolkit or Website Builder section. Let me know if you need specific recommendations!